Key Takeaways
- Check tire pressure at least once a month while the tires are cold.
- Inspect tread, sidewalls, and tire surfaces for wear, cracks, bulges, cuts, and embedded objects.
- New vibration, pulling, road noise, or changes in handling can indicate a tire or vehicle issue.
- A tire-pressure warning light needs prompt attention, but it does not replace regular inspections.
- Visible sidewall damage, exposed cords, or a bulge call for immediate professional help.
- Replacement tires must fit the vehicle’s required size, load rating, speed rating, and drivetrain needs.
Why Tire Condition Matters
Your tires are the only parts of your vehicle designed to maintain direct contact with the road. Their condition influences braking distance, steering response, cornering stability, wet-weather traction, fuel economy, and ride comfort. A tire can gradually lose performance, so a problem may become serious before it looks like a flat tire.
Regular checks are a simple way to catch trouble early. If you need help with an inspection, maintenance appointment, or replacement options, learn more about available vehicle service support before a minor issue disrupts a commute or road trip.
Proper inflation, tread depth, wheel balance, alignment, and rotation all work together. Current federal tire-safety guidance advises drivers to check pressure and tread monthly, and it identifies 2/32 of an inch as the point at which tire tread is no longer considered safe.
Signs That Your Tires Need Attention
One warning sign may only require a closer look. Several signs at once, especially damage combined with handling changes, can mean the vehicle should be inspected before normal driving continues.
- Low pressure or a tire that repeatedly needs air
- Shallow, smooth, or visibly worn tread
- Cracks along the sidewall or between tread blocks
- Bulges, blisters, deep cuts, or exposed cords
- Uneven tread wear from one side of the tire to the other
- Nails, screws, glass, or a recurring slow leak
- A new vibration, humming sound, or thumping sensation
- A vehicle that pulls to one side on a level road
How to Check Tire Tread
Tread channels help direct water away from the contact patch, helping the tire maintain grip on wet pavement. As the tread becomes shallow, water evacuation becomes less effective, and the risk of hydroplaning on standing water can increase.
Simple Ways to Measure Tread
- Park on level ground and turn the front wheels if needed for a clear view.
- Locate the built-in tread-wear bars in the tire’s main grooves.
- Use a tread-depth gauge for the most precise measurement.
- Use the penny test by placing a penny into a groove with Lincoln’s head facing down.
- Inspect several points on each tire rather than relying on a single spot.
The penny test is useful as a quick screening tool, not a full inspection. If the top of Lincoln’s head is visible, or the tread is level with the wear bars, plan to replace the tire. Many drivers choose to evaluate tires earlier, around 3/32 inch, to retain a greater margin for wet-road performance.
How to Check Tire Pressure
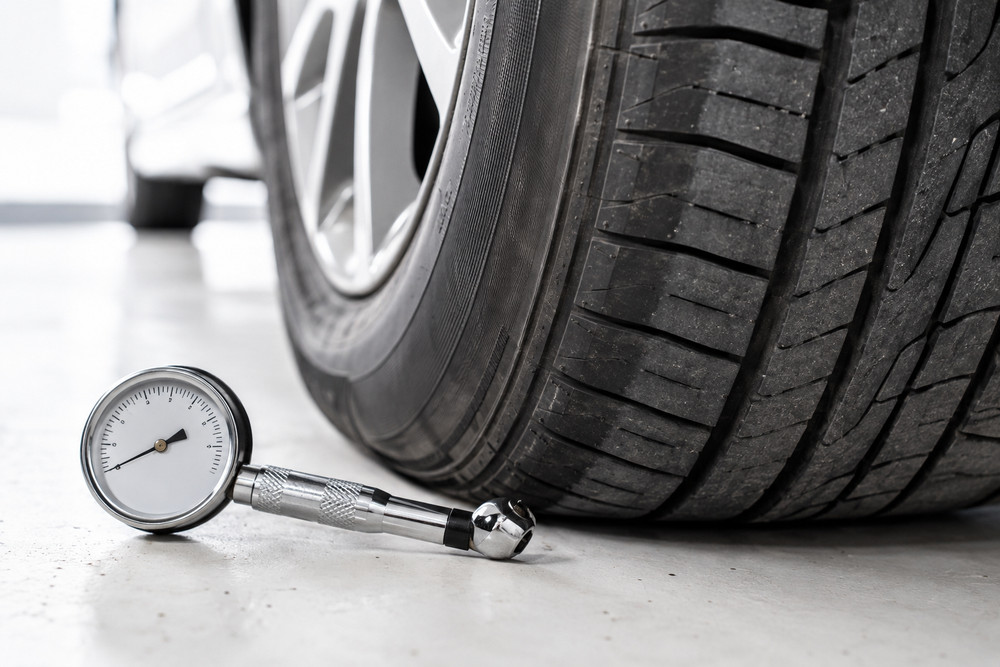
Use the recommended pressure on the Tire and Loading Information label, usually found on the driver-side door jamb, or in the owner’s manual. The number molded into the tire sidewall is generally the tire’s maximum pressure rating, not the pressure specified for your vehicle.
Pressure Check Steps
- Check tires when cold, ideally after the vehicle has been parked for at least three hours.
- Remove the valve cap and press a reliable gauge firmly onto the valve stem.
- Compare the reading with the vehicle manufacturer’s recommended PSI.
- Add or release air gradually until the tire reaches the correct pressure.
- Replace the valve cap and repeat the process for every tire, including the spare when applicable.
A tire-pressure monitoring system is valuable, but its warning light may activate only after a significant loss of pressure. If a tire loses air every few days, do not keep refilling it without finding the cause. A puncture, a damaged valve stem, a bent wheel, or a sealing problem may be involved.
What Uneven Wear Can Reveal
Tire wear patterns can reveal more than an aging tire. They may also point to inflation errors or mechanical issues that need to be corrected before new tires are installed.
- Wear on one side: May indicate an alignment issue or a worn suspension component.
- Cupping or scalloped patches: Can be associated with wheel imbalance, worn shocks, or suspension wear.
- Excess center wear: Often suggests chronic overinflation.
- Wear on both outer shoulders: Can result from underinflation or frequent hard cornering.
- Flat spots: May follow hard braking, wheel imbalance, or another vehicle problem.
Replacing a worn tire without addressing the underlying issue can lead to the same wear pattern on the new tire. A technician can check alignment, suspension components, brakes, and wheel balance when wear looks irregular.
When Tire Damage Requires Immediate Action
Do not continue normal driving on a tire with a visible bulge, severe cut, deep sidewall crack, tread separation, or exposed internal cords. These conditions can signal structural damage. A puncture may be repairable, but repairability depends on its location, size, and whether the tire was driven while severely underinflated.
If vibration begins after striking a pothole or curb, reduce speed and pull over when it is safe. Internal tire damage is not always visible from the outside. Arrange an inspection before a long trip, high-speed highway driving, or carrying a heavy load.
How Tire Age Affects Safety
Mileage is only part of the story. Heat, sunlight, long periods of storage, heavy loads, road conditions, inflation habits, and driving style all affect tire rubber and internal materials. Older tires deserve close attention even when they appear to have usable tread.
Find the final four digits of the DOT Tire Identification Number on the sidewall to determine the manufacturing date. The first two digits identify the production week, and the final two identify the year. Review your vehicle owner’s manual and the tire manufacturer’s guidance, as age-based replacement recommendations can vary.
What to Do Before Buying Replacement Tires
- Confirm the correct tire size on the vehicle label and in the owner’s manual.
- Match the required load index and speed rating.
- Consider local temperatures, rain, snow, and typical road conditions.
- Compare traction, tread-life, comfort, and seasonal performance needs.
- Ask whether matching tires are required on the same axle or across all four wheels.
All-wheel-drive vehicles can be especially sensitive to major tread-depth differences between tires. Depending on the vehicle and the remaining tread on the other tires, replacing one tire, a pair, or the full set may be appropriate.
A Simple Monthly Tire Check
- Check cold pressure on all four tires.
- Inspect tread depth and look for uneven wear.
- Examine sidewalls for cracks, cuts, and bulges.
- Look for embedded debris or signs of leaking air.
- Pay attention to pulling, shaking, or unusual road noise.
- Check the spare tire and emergency equipment when practical.
- Schedule a professional inspection when anything looks or feels unusual.
Tire problems often develop slowly, but a brief monthly routine can identify many of them before they become stressful or dangerous. When a tire is damaged, repeatedly loses air, or changes the way the vehicle drives, the safest next step is a professional inspection.
Conclusion
Regular tire care is a simple part of responsible vehicle ownership. Checking pressure, tread, sidewalls, and wear patterns can help identify problems before they affect daily driving or travel plans. When damage or unusual handling is detected, a professional inspection can help determine the safest next step and keep your vehicle road-ready.